Introduction
Photography is more than just pressing a button — it’s about capturing emotions, light, and stories. A DSLR camera gives you the power to control every detail of your shot, from lighting to focus. Whether you are a beginner or an aspiring photographer, learning how to use a DSLR camera properly can transform your photos from ordinary to professional.
Understanding Your DSLR Camera and How It Works
Before taking pictures, it’s important to understand how your DSLR camera works. A DSLR, or Digital Single-Lens Reflex camera, uses a mirror mechanism that lets you see exactly what the lens sees. It offers manual settings for shutter speed, aperture, ISO, and white balance, allowing you to control how your photos look.
Mastering DSLR Camera Settings for Perfect Shots
Learning the key settings of your Digital camera is essential for taking clear and creative photos.
- Aperture controls the depth of field — how much of your photo is in focus.
- Shutter speed affects motion blur — faster speeds freeze action, while slower speeds create movement effects.
- ISO adjusts how sensitive the camera is to light — lower ISO for bright conditions and higher ISO for low light.
Lighting Tips for Better DSLR Photography
Lighting plays a crucial role in photography. Natural light often gives the best results, especially during golden hours — early morning or late afternoon. Avoid harsh midday sunlight, as it can create unwanted shadows. Experiment with different light sources to see how they affect your photos. If you want to learn about essential camera accessories, check our post on Top DSLR Accessories for Better Photography.
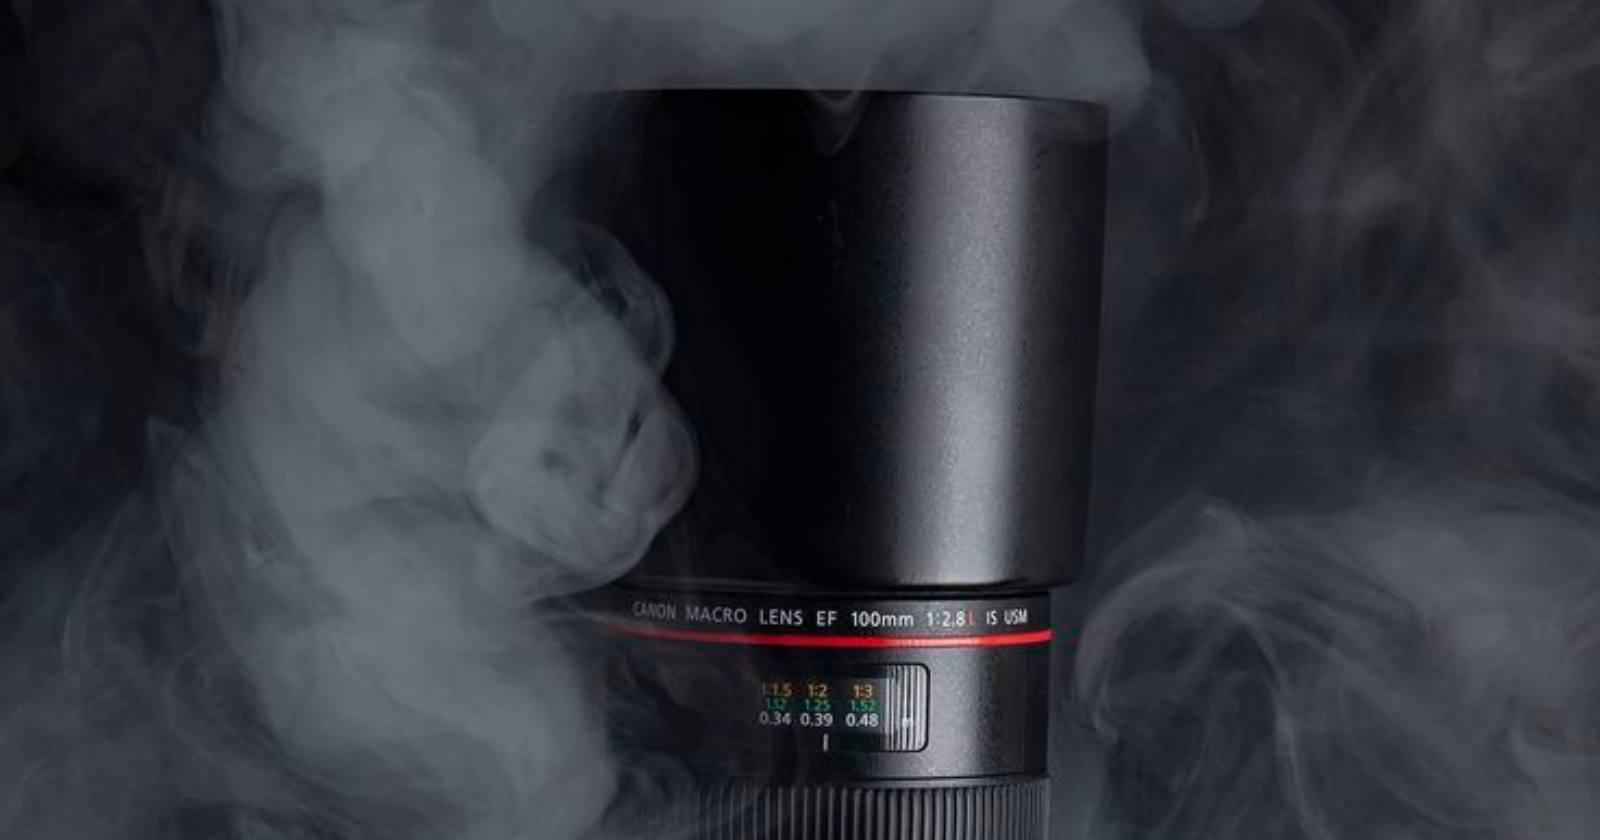
Choosing the Right Lens for Your DSLR Camera
The lens you use can completely change how your photos look. Wide-angle lenses are great for landscapes, while prime lenses with a low f-stop are perfect for portraits. Understanding lens types helps you choose the best one for your photography style.
DSLR Photography Composition and Framing Tips
Composition determines how your subject appears in the frame. Use the rule of thirds to position key elements off-center for a more balanced and interesting image. Pay attention to the background, symmetry, and leading lines to make your photos more engaging.
Post-Processing and Editing
Even the best photographers enhance their photos using editing tools. Software like Adobe Lightroom or Photoshop helps adjust brightness, contrast, and colors. Keep editing natural — the goal is to improve the photo without losing its real feel. Learn more about Digital camera basics from Nikon’s beginner photography guide.
Practice and Experimentation
Photography improves with practice. Try different camera settings, locations, and angles to discover your style. Don’t be afraid to experiment — every shot teaches you something new about your DSLR camera and your creativity. To learn more about camera settings and techniques, check our detailed guide on capturing professional photos with your DSLR.
Conclusion
Mastering DSLR photography takes time and patience, but the results are worth it. By understanding your camera, practicing consistently, and focusing on creativity, you can capture stunning photos that tell powerful stories.
Frequently Asked Questions (FAQ)
A DSLR (Digital Single-Lens Reflex) camera is a professional camera that uses a mirror system to reflect light from the lens to the viewfinder. It allows full manual control over settings like shutter speed, aperture, and ISO, giving photographers more creative freedom.
Entry-level DSLR cameras like Canon EOS Rebel series or Nikon D3500 are great for beginners. They are easy to use, affordable, and provide excellent image quality, while still offering manual settings to learn photography.
The lens you choose affects the style of your photos. Wide-angle lenses are ideal for landscapes, while prime lenses with a low f-stop are perfect for portraits. A versatile kit lens is a good start for beginners.
Yes! Most modern DSLR cameras can record high-quality videos. You can adjust focus, exposure, and other settings manually for professional-looking footage.
Practice is key. Experiment with different lighting, compositions, camera settings, and lenses. Also, learn post-processing techniques using software like Lightroom or Photoshop to enhance your photos.
In low-light conditions, increase your ISO to make the camera more sensitive to light, use a wider aperture (lower f-stop) to let in more light, and slow down the shutter speed if possible. Using a tripod can help prevent blur caused by shaky hands.
Visit Us – Home Page